How to Reduce Image File Size
 Sarah Mitchell Updated 2026-06-25 image-compression
 Upload your image to TinyPNG or Squoosh — both compress files by 50-80% in the browser. For photos, aim for 75-80% quality. For screenshots and graphics, 50-60% works well since solid-color areas compress more efficiently.
Step-by-step
Understand what affects image file size
File size depends on three factors: resolution (pixel dimensions), format (JPG, PNG, WebP, AVIF), and compression quality. A 4000×3000 photo saved as uncompressed PNG can easily exceed 20MB, while the same image as 80% quality JPG might be just 800KB. Reducing any of these three levers shrinks the file — the key is knowing which one to adjust for your use case.
Choose the right tool for your file type
For JPG and PNG photos, TinyPNG applies smart lossy compression automatically — just drag the file in and download. It handles JPG, PNG, and WebP with no quality settings to worry about. When you want precise control, Squoosh shows a real-time quality slider so you can compare the original and compressed version side by side. For batch processing multiple files, ShortPixel and iLoveIMG both support uploading several images at once.
Set the right quality level
Quality 75-80% is the sweet spot for JPG photographs — file size drops by 60-70% and the difference from 100% is invisible on screens. Go down to 50-60% for graphics, screenshots, and images with large areas of flat color — these compress far more aggressively without noticeable quality loss. Avoid going below 40% unless the image is purely decorative, since compression artifacts like banding and blurring become visible around text edges and fine details.
Compare before and after to catch artifacts
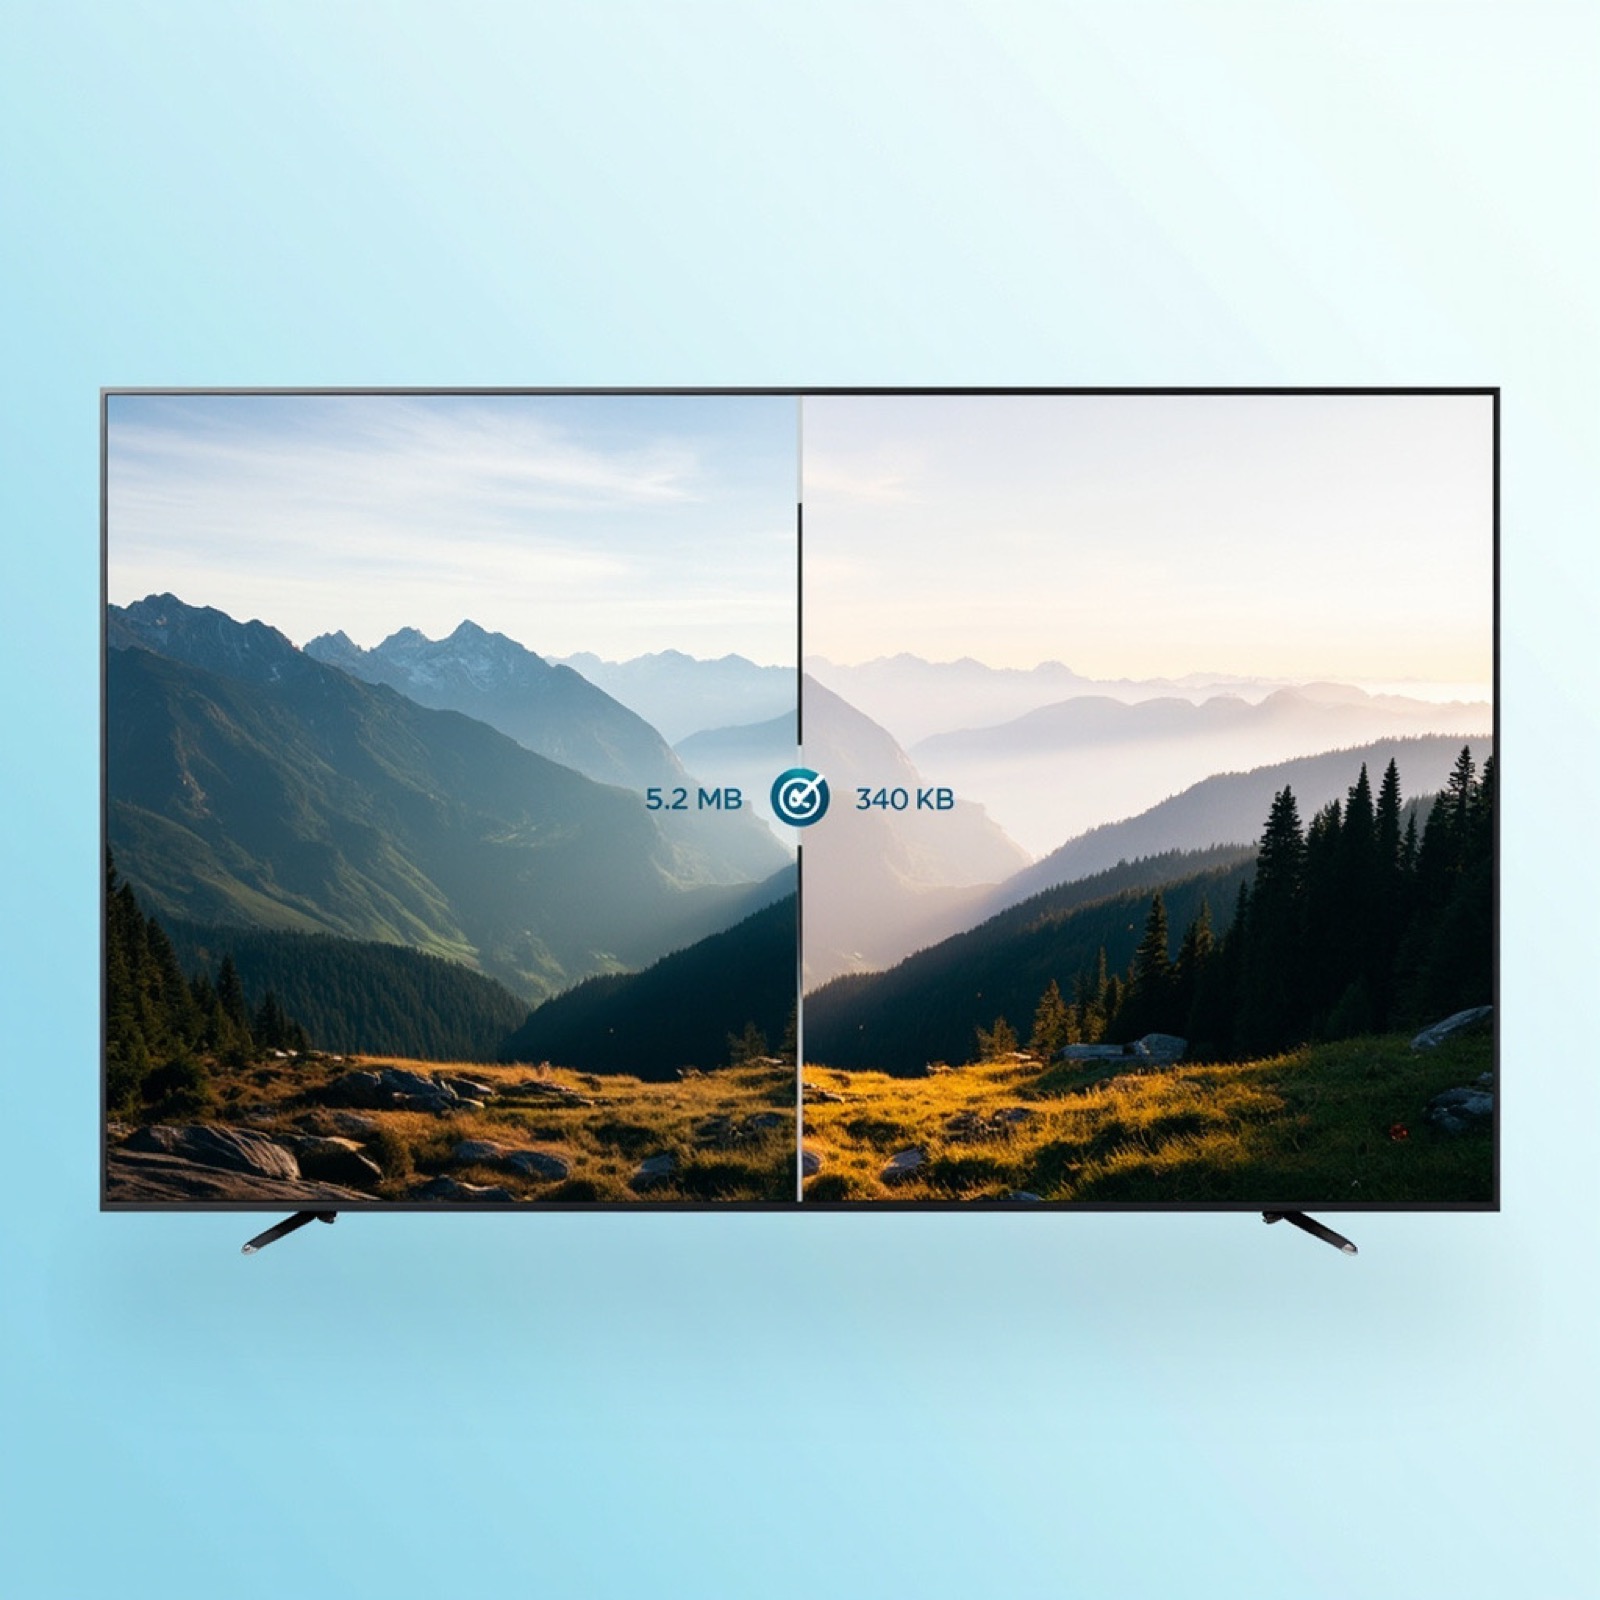
Open the original and compressed versions side by side at 100% zoom. In Squoosh, drag the comparison slider across areas with fine detail — look for banding in gradient skies, blurring around text, and pixelation in hair or foliage. TinyPNG shows the exact percentage reduction after processing. If the compressed image looks identical to the original at normal viewing distance, the quality level is good.
Convert to a more efficient format
WebP produces files 25-35% smaller than JPG at the same visual quality — it is the best default for web images. AVIF pushes compression even further, saving an additional 20-30% over WebP, though browser support is still catching up. Use Squoosh to convert PNG screenshots to WebP and cut sizes by half or more. Keep PNG only when you need transparency. For print or archival needs, stick with high-quality JPG or lossless PNG.
Resize dimensions when possible
Displaying a 4000×3000 photo at 800×600 wastes bandwidth — the browser downloads the full resolution and scales it down. Before compressing, check what size the image actually needs to be on your page or app. Resize first with Squoosh or any image editor, then compress the smaller file. This alone can cut file size by 80% or more without any quality loss at all.
Download and verify the final file size
Download the compressed image and check its file size against your target. For web images, aim under 200KB for photos and under 100KB for thumbnails and icons. TinyPNG typically achieves 60-70% reduction on photos. Squoosh shows the exact output size before you download. If the file is still too large, lower the quality another 5-10% or reduce the dimensions by 20-30%.
Recommended Tools