
How to Convert PNG to JPG for Web: Optimize Images for Page Speed
Use Squoosh at quality 75-80 for hero images and 60-70 for thumbnails — JPGs are typically 60-80% smaller than PNGs and load much faster on web pages.
Step-by-step
Decide whether PNG or JPG is right for each web image
Not every PNG should become a JPG. PNG uses lossless compression that excels at graphics with sharp edges, text, and transparency. JPG uses lossy compression that excels at photos with smooth gradients. For a website hero image, photo gallery, or background — JPG wins on file size. For a logo, icon, or screenshot with text — PNG often produces a smaller file with sharper edges. Tools like Squoosh and TinyPNG make it easy to compare the two formats side by side at different qualities. Audit each image: if the source is a photo or has gradients, convert to JPG; if it has text or transparency, keep PNG or use WebP.
Pick a quality setting that balances size and visual quality
For web JPGs, quality 75-80 is the modern sweet spot for hero images — visually nearly identical to the source PNG at normal viewing distances while cutting file size 60-80%. For thumbnails, gallery previews, or background images that load in the background, drop to 60-70 for an extra 30-50% size reduction. Squoosh shows a live preview of file size at each quality setting, so you can pick the lowest acceptable value empirically. Avoid quality above 90 for web — the extra size is rarely visible.
Resize to actual display dimensions before converting
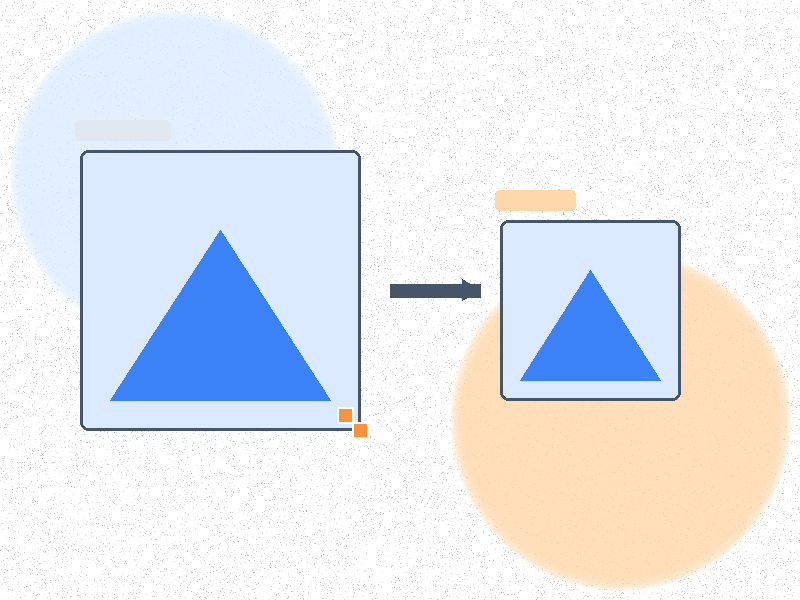
A 4000px PNG displayed at 800px wastes 80%+ of its bandwidth. Before converting, resize to the actual maximum display size needed. Squoosh lets you resize and convert in one step, which is the most efficient web workflow. For responsive sites, generate multiple sizes (e.g., 400px, 800px, 1200px wide) and serve them via the srcset attribute. Resizing is the single biggest size win for web images — a properly-sized JPG can be 5-10x smaller than the source PNG.
Use a CDN-friendly format when possible
Modern browsers all support WebP, which achieves 25-35% better compression than JPG at equivalent quality. If your audience uses modern browsers, Squoosh can output WebP directly with similar visual quality at smaller file sizes. For broader compatibility (e.g., email clients, older CMS), stick with JPG. Use the picture element with a WebP source and JPG fallback: `
Run the batch conversion with consistent settings

For an entire image library, use Squoosh CLI or XnConvert to apply consistent quality and resize settings across hundreds of images at once. Set the quality and resize once, save as a preset, and apply to a whole folder. The output JPGs will be uniform, predictable, and ready for upload. For very large image libraries, ImageMagick CLI with a shell script is the fastest batch path — `magick mogrify -format jpg -quality 78 -resize 1200x *.png` does an entire folder in seconds.
Add lazy loading and verify page speed
After conversion, add `loading="lazy"` to img tags below the fold — modern browsers defer offscreen images until the user scrolls near them. Verify the result in Chrome DevTools (Lighthouse) or PageSpeed Insights: a properly converted JPG should pass the "properly size images" audit and improve Largest Contentful Paint. Combine JPG conversion with caching headers and a CDN for the largest speed gains. For mission-critical images, generate AVIF as well — it beats both JPG and WebP at the same visual quality. Tools like Squoosh and TinyPNG handle JPG, WebP, and AVIF output from a single PNG source.
Recommended Tools