How to Convert PNG to JPG Without Losing Quality: Step-by-Step Guide
CloudConvert at quality 85 keeps PNG-to-JPG output nearly identical to the source. Squoosh runs locally with a per-image slider.
Step-by-step
Open a converter that exposes a quality slider
Quality loss in JPG is real but tunable. Use CloudConvert or Squoosh and pick a quality slider value before converting — 85 is the standard trade-off point where most viewers cannot see a difference from the PNG. Higher values (90-95) preserve more detail but balloon file size; lower values (70-75) introduce visible artifacts around text and sharp edges. Tools that hide the quality slider, or default to a fixed compression, give you no way to compare trade-offs side by side.
Decide between lossy and visually-lossless for the use case
Photos tolerate lossy compression well — at quality 85 a 2 MB PNG photo typically becomes a 400-800 KB JPG with no visible difference. Graphics with text, gradients, or transparency need higher quality (90-95) or a different format entirely. If your PNG has a transparent background, Squoosh lets you preview the JPG against white, black, or a custom color so you can see exactly what gets flattened before you commit. JPG by definition is lossy, so "without losing quality" really means "without visible quality loss" at the chosen setting.
Convert one file first as a quality test
Before processing a batch, convert a single representative PNG with CloudConvert at quality 85 and open the result alongside the original at 100% zoom. Look closely at text edges, color gradients, and fine detail — these are where JPG artifacts show first. If the difference is invisible at your normal viewing distance, your quality setting is right. If you see banding or blurring around text, bump the slider to 90 and re-test. One comparison takes a minute and prevents batch-wide regret.
Pick a background color if the PNG has transparency
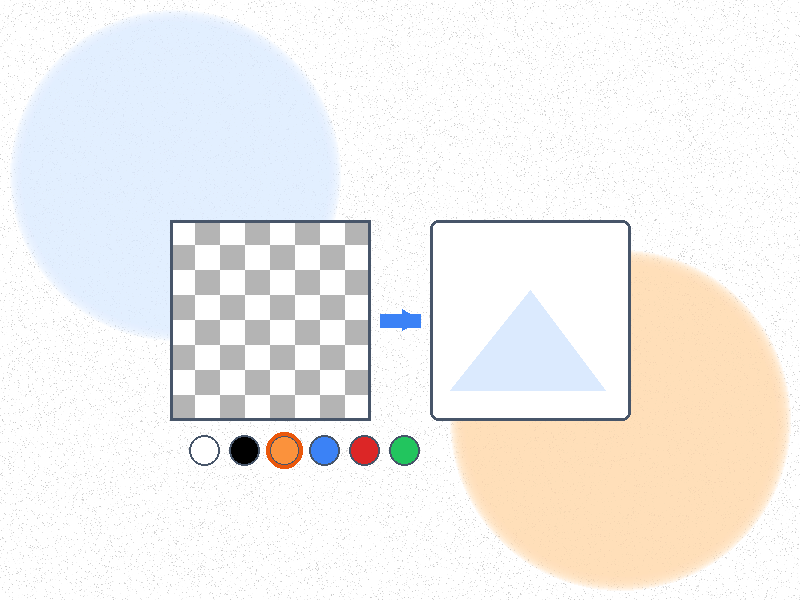
JPG does not support transparency — every transparent pixel becomes a solid color. CloudConvert asks for a background color before conversion, which is the cleanest way to handle logos, icons, and overlays. White is the most common choice, but black or a brand color often looks better depending on where the image will be displayed. If preserving transparency matters, do not use JPG — convert to WebP or PNG instead. Squoosh shows a live preview against different backgrounds so you can pick the right one visually.
Run the conversion and verify the output
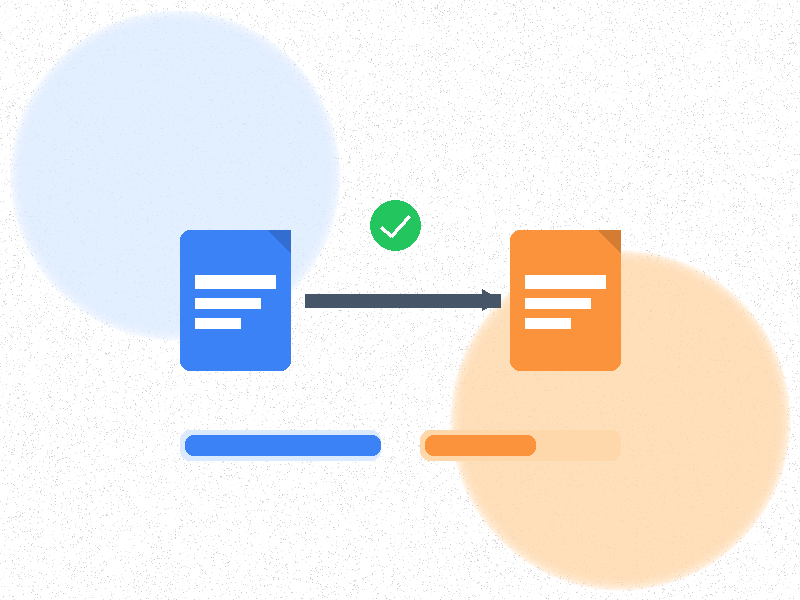
Click Convert and wait — single-file conversion takes 5-15 seconds. Open the resulting JPG to confirm it renders correctly and check that the file size dropped in the expected range (60-80% smaller than the original PNG for photos). Compare both files side by side at 100% zoom one more time before deleting the source PNG. Tools like Squoosh make this side-by-side comparison easy with a built-in preview pane. If quality is critical, keep the original PNG alongside the new JPG so you can re-export at a different quality setting later without losing the source.
Batch convert with the same quality setting
Once the test file passes inspection, process the rest of the folder at the same quality. CloudConvert supports batch uploads of up to 10 files on the free tier; iLoveIMG supports larger batches with similar quality controls. Drag the entire folder in and the converter applies the same quality slider value to every file, keeping the batch consistent. Verify two or three output files at random to catch any tool-specific edge cases before deleting the originals.
Recommended Tools